Plan your wedding in 12 months with this step-by-step planning timeline for any budget.
When my partner Nick and I got engaged, I knew a lot about planning weddings—I've spent more than a decade as a wedding photographer, getting to witness the behind-the-scenes of countless weddings with my wonderful couples. But as we started dreaming up future wedding (elopement) ideas together, I realized that Nick hadn't experienced weddings in quite the same way I had. It made me think about how most people who aren't in the wedding industry might not realize just how many details go into planning a wedding—even a small one!
So, I decided to create a step-by-step wedding planning guide to give couples a clear idea of what steps to take, broken down over a one-year timeline. Whether you're just starting out or already have a vision in mind, this planning guide will help you stay organized and on-time. As you get started with your planning, find a way to keep track of everything so you’re not trying to remember a million little details. You could use a detailed spreadsheet, a project planning notebook like this one from Poketo, a more guided wedding planning book like this one from Kate Spade, or even a special “something blue” engagement gift to yourself, like this blue leather notebook from Tiffany & Co.
12 months out: Set your budget and book your planner, venue, and limited-availability vendors (in that order).
Before you book with any vendors, decide on your overall wedding investment. Naming an ideal investment (and your maximum/stretch budget) will help you stay within your financial boundaries when planning your wedding, and will give you a good idea of what you have to work with after you secure your more limited-availability vendors that can’t book more than one wedding in a weekend (your wedding planner or venue, for example).
If it’s within your budget, I recommend hiring a wedding planner as your first vendor. Wedding planners will be able to help you navigate initial planning steps like sorting out your final guest count and booking with your core vendor team, and they can offer excellent advice on all kinds of things (including things you might not know to think of when planning). If you’re looking for a Des Moines-based planner, definitely reach out to Maya and her amazing team at Wildflower DSM. I absolutely love working with them and they offer the best in-house florals too. If a planner isn’t in your budget, bookmark or print off this planning guide so you don’t forget any crucial steps in planning your celebration. Keep your notes organized somewhere like Google Sheets, and make a wedding planning folder in your email inbox, so your plans, bookings, budget, and deadlines don’t get away from you.
Book your venue (and finalize your wedding date). If you’re doing an outdoor, tented event, I personally prefer the look of a clear tent over a white one (from a visual/lighting standpoint), so be sure to look into different options to see which style you like best. Keep in mind the extra costs associated with outdoor events, like generators, lighting, tenting, and portable toilets, and make sure they are factored into your budget early on.
Book your photographer, hair and makeup team, officiant, live musicians, and stationer (invitations, calligraphy, etc) next. (Make sure the previous 3 steps are all complete, these vendors need to know your venue and date before they can book with you, and your planner can help you navigate your vendor options in this step). These vendors have limited capacity to take on multiple couples in one weekend, so their availability books up very quickly. I personally book with most of my elopement & wedding photography clients 6-12 months in advance, but last-minute bookings are always welcome if I have availability. I typically don’t book more than 18 months out, but can under the right circumstances (international travel, etc).


9 months out: Finish booking your vendor team, select your wedding apparel, and finalize your guest list.
Book your remaining vendors including florist, catering, bakery, event stylists, decor rentals and videographer. Once you book with these vendors, don’t forget to schedule your cake and menu tastings for around 6 months before the wedding, and your hair and makeup trials and design presentation (where you’ll approve the overall event design and view a sample tablescape) for around 3 months before the wedding. Not all vendors offer tastings, trials, and presentations, so be sure to talk about it with each vendor before booking if they are important to you.
Build your wedding website and make your guest list. Having multiple ways to contact your guests can come in handy in a pinch, like if you need to communicate any unforeseen last minute changes. Start rounding up email and mailing addresses for everyone right away, so you’re not having to track down contact information at the last minute. Some of your guests will inevitably have to choose between attending your wedding or another one on the same date, so it’s totally fine to share a date announcement via email or on your wedding website to let people know early on, before you send out formal “save the dates.”
Get out there and start trying on wedding-day apparel! Take yourself on a date (or bring a couple of your closest people to help you) and find your dream wedding day outfit and accessories. It’s a good idea to get started on this step semi-early in the process, so you have time for alterations, fittings, and custom items to be made, and if you start a bit earlier, you can build in some extra fun, like a besties weekend trying on designer veils in New York City.
ps. Check out my blog on non-traditional veil options here! There are so many fun ones to choose from!
6 months out: Send your save the dates, realize your vision, and connect with your vendors.
Send your save-the-dates no later than 6 months out. If you want to do this earlier, you can send them up to 9 months in advance.
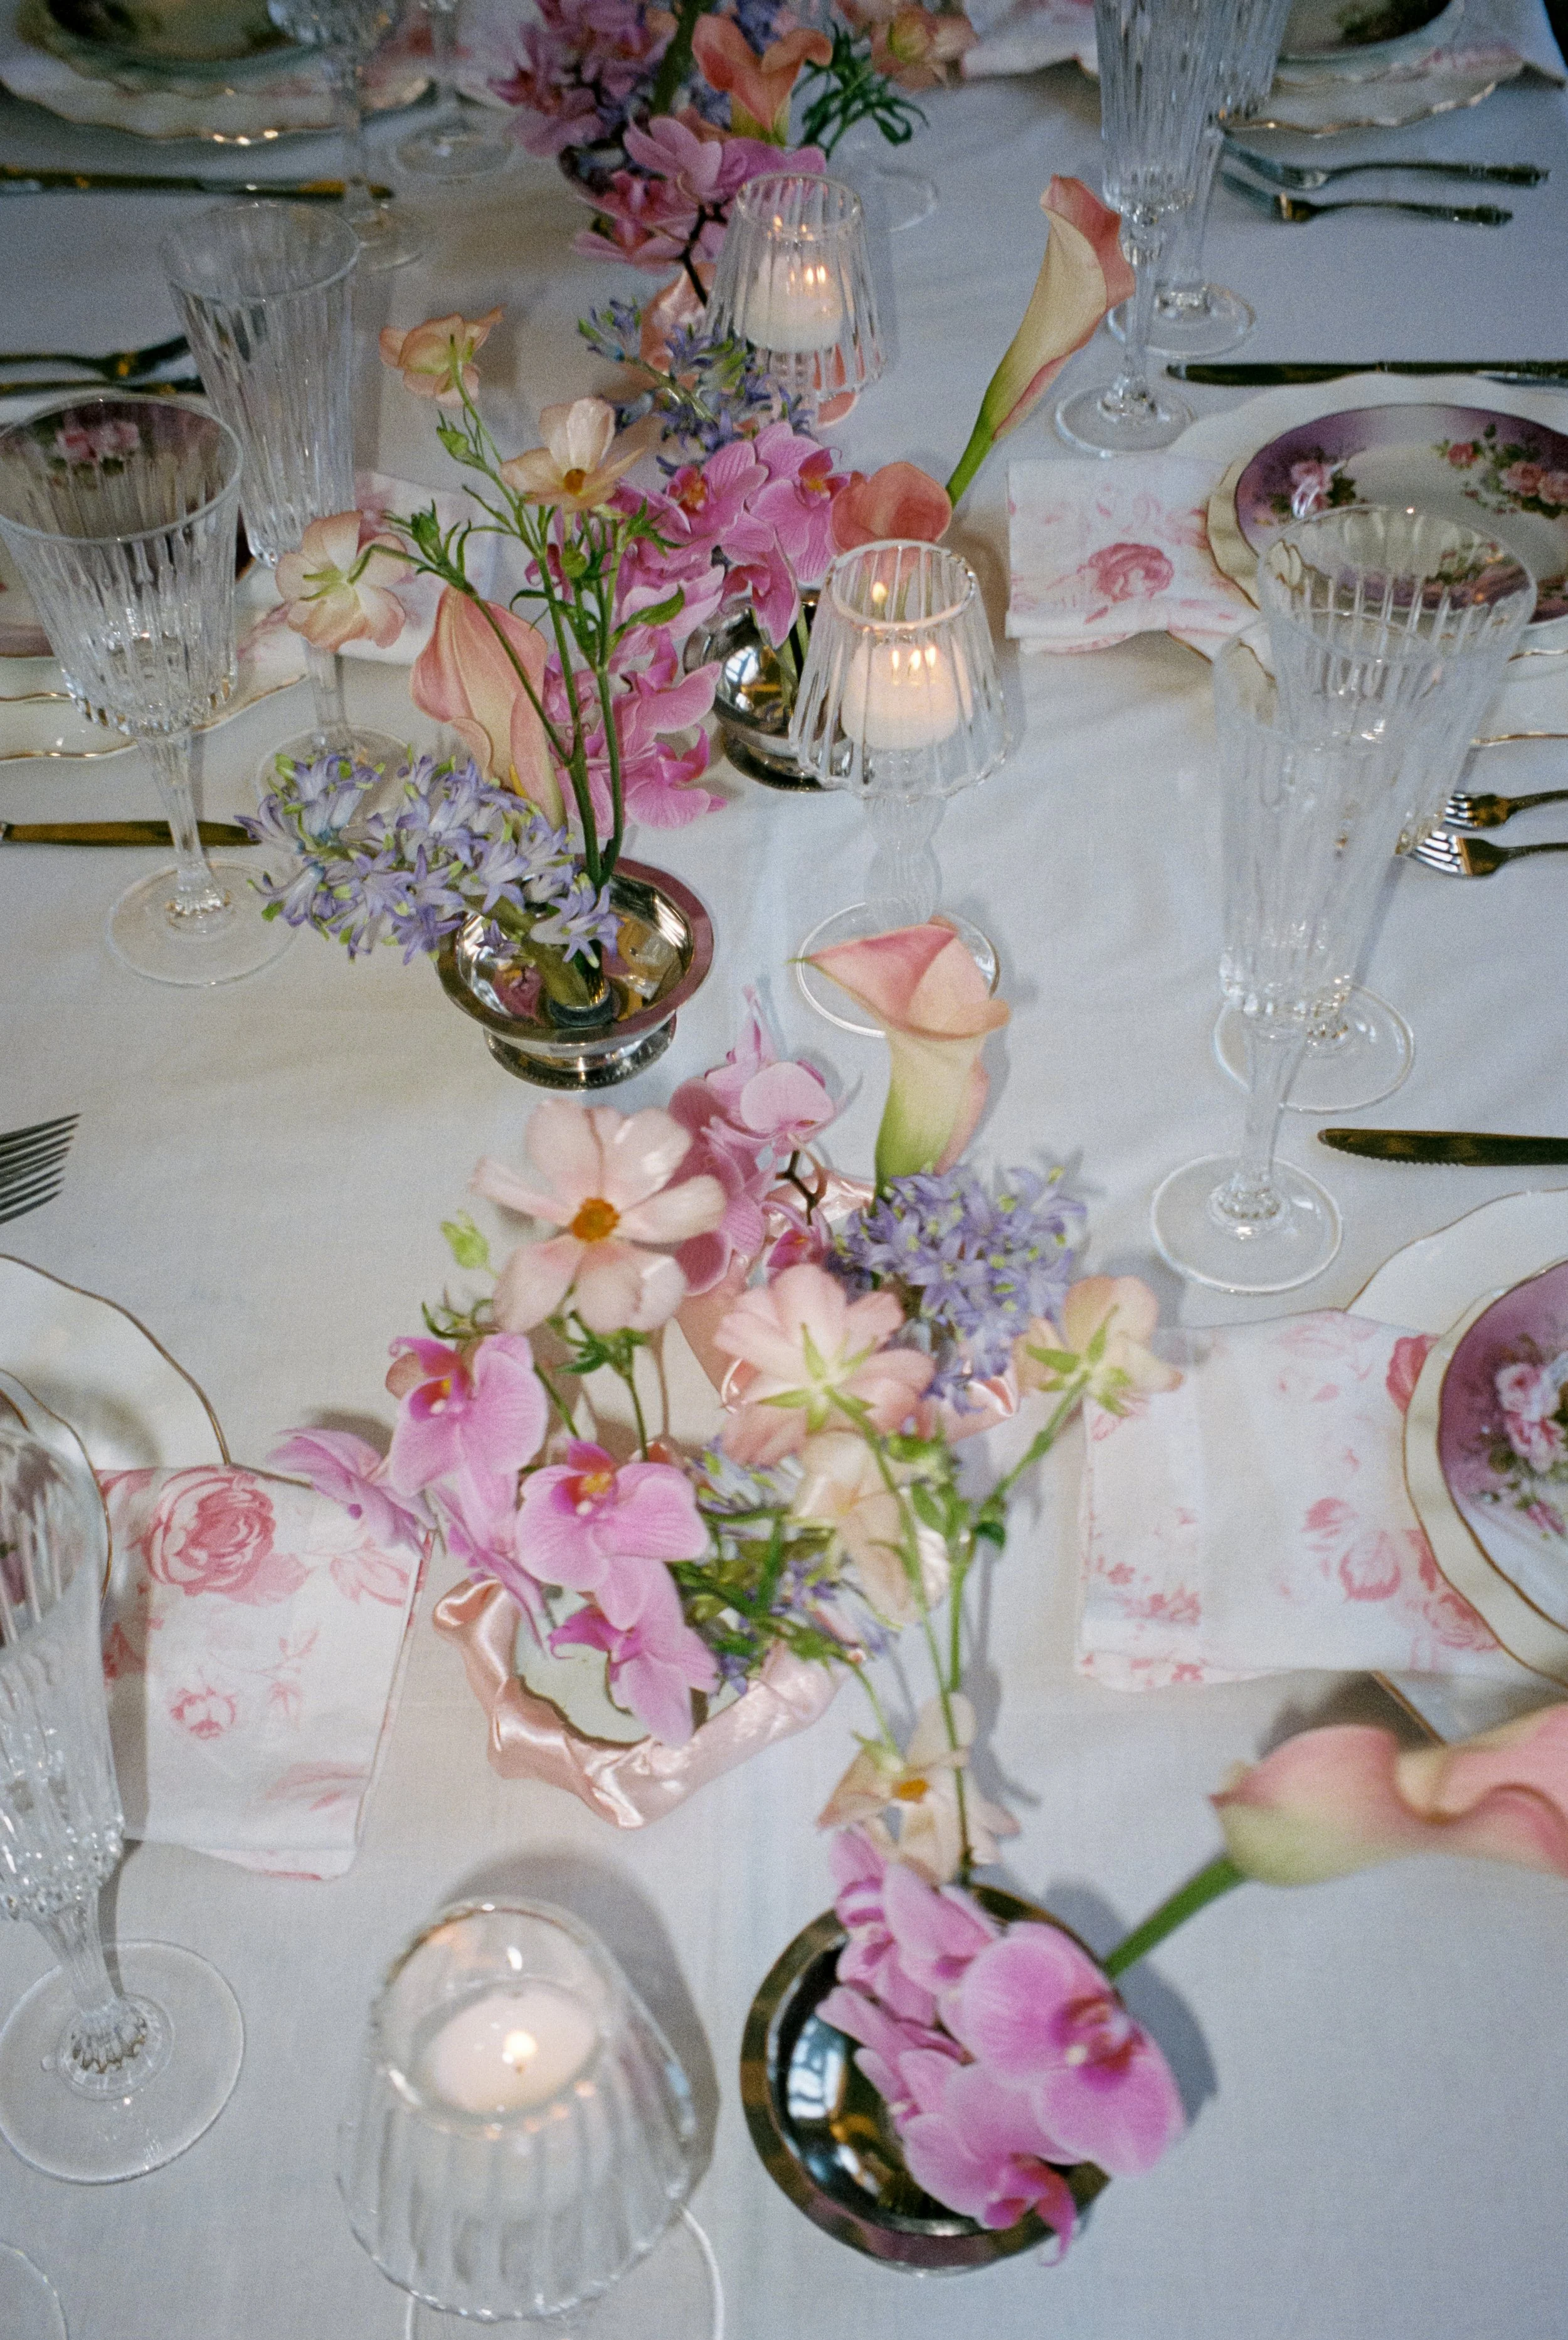
Check back in with your vendor team about your vision for your wedding. Present your mood boards, color palettes and aesthetic goals to the relevant vendors (venue, florist, event stylist, etc), and get feedback from them on decorative elements like floral arrangements, tablescapes, lighting, signage, furniture placement, etc. Start discussing your overall vision with your vendor team early on to make sure they have enough time to bring your vision to life, and be prepared to make adjustments based on venue restrictions, budget constraints, or product availability.
Attend your previously scheduled menu and cake tastings. These two tastings can be really fun date nights for you and your partner leading up to the wedding, and they’ll give you a taste (literally, lol) of what’s to come in just a few months. Depending on your booking and budget, you’ll get to sample cocktail appetizers, entrées, bite-sized desserts, cakes, frostings, etc. at your tastings. Be sure to taste everything intentionally, take notes, and sip water between bites to cleanse your palette. Don’t be shy about sharing feedback and preferences with your caterer and baker, and be sure to ask them when they need your final menu selections and information on guests’ dietary restrictions. If you want to bring any loved ones or your planner to your tastings, be sure to check with your vendors beforehand to make sure they can accomodate extra people.


3 months out: Write your vows, attend your trials, and have apparel alterations done.
Write your vows. Don’t save this one til the last minute – writing personal vows shouldn’t be rushed. Give yourself plenty of time to get your thoughts in order and try reading your vows out loud in the mirror to see how they feel when spoken.
Have your wedding outfits altered if needed, and schedule your final apparel fittings for around 2 weeks before the wedding, after alterations are complete. It’s tempting to get it out of the way early, but it’s a good idea to schedule this final fitting as close to 2 weeks out as possible to ensure your outfits still fit and feel great on the wedding day.
Check in on your skincare routine. Moisturize and use SPF consistently so your skin is healthy and radiant, but don’t incorporate any new or unfamiliar skincare products into your routine in the final 3 months leading up to your wedding. Nobody should have to deal with the stress of allergic reactions, breakouts, or irritation with their wedding just around the corner.
Attend your previously scheduled design presentation with relevant vendors. Here you’ll get to see your previously communicated vision for your wedding design come to life for the first time! Your vendors will walk you through mood boards, swatches, layouts, floorplans, floral concepts, tablescapes, ceremony design, lighting, and more, and you’ll be able to provide feedback and discuss any modifications you want to make before the wedding day.
Attend your previously scheduled hair and makeup trials. This is where you’ll get a chance to preview your wedding day look, and see if it feels right for you. Be sure to bring in your inspiration photos and communicate your overall wedding vision to your hair and makeup artists so they can best achieve the look you want. Don’t forget to tell your stylists if you have any allergies or sensitivities to certain products. It can be helpful to wear a similar neckline to your wedding day outfit to fully visualize how your look will come together, and you’ll want to test the “staying power” of your look after the trial, so plan a date night with your hunny, or maybe have a bridal shower or boudoir session on this date to maximize your style and see how it holds up through the day and night!

2 months out: Send your formal invitations, finalize your timeline, and get your marriage license sorted.
Send your formal invititations no later than 2 months out. If you want to do this earlier, you can send them up to 3 months in advance.
Finalize your wedding timeline, and take care of loose ends with your vendors. Be sure to include all wedding weekend events in the timeline (like a welcome dinner the day before your ceremony, for example). Send your final timeline to all of your vendors so they can review it, and be prepared to make adjustments to your timeline based on vendor requirements. This is also a good time to review final details with your vendors, like a list of family formals for your photographer, or songs you want the live musicians to play during the ceremony or formal dances. If any changes are made, send the updated timeline to every vendor again, and finally, send a copy to any close loved ones who will be involved in the wedding at more than a guest level.
Apply for your marriage license and check in with your officiant about your ceremony. Check with the relevant government offices in the place you’ll be getting married for specifics like fees and witness requirements. As of December 2024 in Des Moines, Iowa, you can apply for your marriage license at the Polk County Recorder's Office, the fee is $35, and it will be good for up to 6 months. Once you apply for yoru marriage license, discuss your vision for the ceremony, readings, vows, and any special requests, customs, or traditions with your officiant to make sure they have everything they need from you for the wedding day.
1 month out: Make your seating chart, review your vows, and pay your final vendor balances.
Make your seating chart and update your planner and caterer. Once you start getting RSVPs back, get to work on your seating charts for your welcome dinner, wedding ceremony, and reception. Once you have everything finalized, update your caterer of your final headcount and seating plan, as well as any allergies or dietary restrictions.
Review your vows. Make any changes or updates you want, and then practice reading your vows out loud if you’ll be reading them to your partner on the wedding day. If you’re exchanging written vows instead, now’s a great time to copy your vows over to vow books or nice stationery for the wedding day.
Pay your balances with all of your vendors. Most vendors require final payments around a month out, and you don’t want to be dealing with finances in the week or two before your wedding anyway (you’re supposed to be relaxing then!)
2 weeks out: Have your final fitting and check in with your planner.
Review the wedding day items you want to save or have transported to your home/hotel room with your planner. These are sentimental pieces like your cake topper or day-of stationery like menus and place cards, practical items like a change of clothes or shoes, or items you want preserved from the wedding like veils, bouquets, etc.
After alterations are complete, attend your previously scheduled final fittings. You’ll try on your outfits and see the final look to confirm the alterations are correct and the fit is just right. Some last-minute pinning and adjustments may be done, but you should take your outfit home from this appointment. You should be comfortable and you should be able to move around, so be sure to speak up if you have any concerns or questions about the fit or mobility of your outfit. You can also discuss how to properly clean and store your wedding outfits at this appointment.


1 week out: Prepare for any travel, have your rings cleaned, and relax!
Pack your bags and prepare for any wedding travel and hotel stays. Get your overnight bags ready early in the week before your wedding so you can spend the last few days relaxing. Figure out logistics like parking, room numbers, check in/out times, and addresses, and communicate this information to the relevant people (loved ones, planner, photographer, hair and makeup team, etc). This will help you avoid unnecessary travel stress on your wedding day.
Have your engagement rings and wedding bands professionally cleaned. For maximum sparkle and shine in your photos and on your wedding day, have your ring cleaned as close to your wedding as possible. Your jeweler can also check for bent prongs and loose stones to make sure everything is in tip top shape.
Relax and take care of yourself. In the week before your wedding, you’ll be answering last-minute questions, possibly making rain plans, etc., but you can minimize stressors and feel your best this week by eating nourishing food, drinking lots of water, getting plenty of sleep, taking time off work if you can, and spending some peaceful quality time together before everything begins.

